So You Want to Dermaplane at Home — Here's What You Need to Know First
Dermaplaning at home for beginners is more approachable than it sounds — but getting it right from the start means knowing the basics before you pick up a blade.
Quick answer: How to dermaplane at home safely
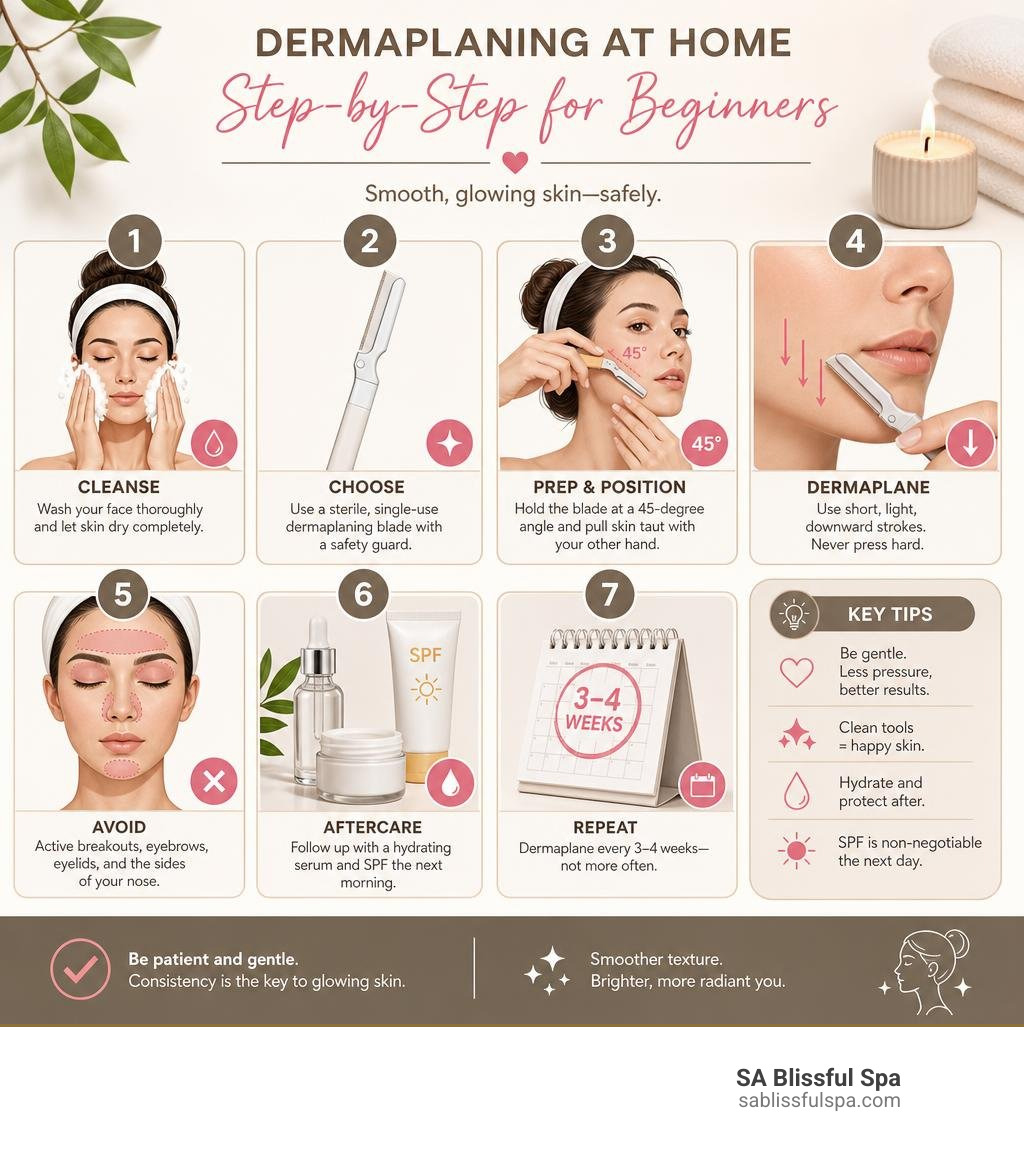
- Cleanse your face thoroughly and let skin dry completely
- Choose a sterile, single-use dermaplaning blade with a safety guard
- Hold the blade at a 45-degree angle and pull skin taut with your other hand
- Use short, light, downward strokes — never press hard
- Avoid active breakouts, eyebrows, eyelids, and the sides of your nose
- Follow up with a hydrating serum and SPF the next morning
- Repeat every 3-4 weeks — not more often
You've probably seen it all over social media — someone gliding a tiny blade across their cheek, revealing impossibly smooth skin underneath. It looks oddly satisfying. And honestly? It kind of is.
Dermaplaning removes two things at once: the layer of dead skin cells sitting on top of your face, and the fine vellus hair (peach fuzz) that traps oil, product, and makeup. The result is brighter skin, better product absorption, and a smoother base for foundation. Over 65% of first-time users report visible improvement in skin texture and radiance within just 48 hours.
But there's a learning curve. Done wrong, it can mean nicks, irritation, or breakouts. Done right, it's one of the most effective things you can add to your skincare routine — without spending $89 to $300+ per professional session.
I'm Saloni Bhandari, licensed esthetician and founder of SA Blissful Spa in Burlington, MA, and I've helped many clients understand safe dermaplaning at home for beginners so they can maintain their glow between professional treatments. In the sections below, I'll walk you through everything — tools, technique, aftercare, and the mistakes that trip most beginners up.
Dermaplaning at home for beginners helpful reading:
- Dermaplaning for sensitive skin
- best dermaplaning technique
- what oil to use for dermaplaning at home
What is Dermaplaning and How Does It Differ From Shaving?
At its core, What Is Dermaplaning is a physical exfoliation method. While it does remove facial hair, its primary goal is to clear away the buildup of dead skin cells on the stratum corneum (the outermost layer of your skin). In fact, a single session can sweep away up to 21 days of accumulated dead skin.
Many beginners confuse dermaplaning with basic facial shaving. While both utilize a blade, the tools, angles, and physiological outcomes are entirely different. Traditional shaving focuses strictly on cutting hair at the skin’s surface using multi-blade razors on wet skin. Dermaplaning, on the other hand, uses a single, ultra-sharp sterile blade held at a precise angle on dry skin to scrape away both vellus hair and dead skin buildup.
According to research on Dermaplaning at Home: Benefits & How It Works, this physical scraping action acts as a gentle resurfacing treatment. By clearing this cellular debris, you immediately improve product absorption — meaning your expensive serums and moisturizers can actually penetrate your skin instead of getting soaked up by dead cells and peach fuzz. It also creates a perfectly smooth canvas, preventing makeup from clinging to dry patches or fine hairs.

Here is a quick reference table to help you understand how these methods compare:
| Feature | Dermaplaning | Standard Shaving | Microdermabrasion |
|---|---|---|---|
| Primary Goal | Exfoliation + vellus hair removal | Hair removal only | Deep mechanical exfoliation |
| Skin Condition | Must be completely dry | Wet (using shaving cream) | Completely dry |
| Tool Used | Single-edge sterile aesthetic blade | Multi-blade safety razor | Vacuum-suction diamond tip |
| Vellus Hair Removed? | Yes | Yes (but lacks exfoliation depth) | No (can pull or tug hairs) |
| Depth of Exfoliation | Superficial stratum corneum | Extremely minimal | Mid-level epidermal |
Who Should Try Dermaplaning at Home for Beginners (and Who Should Skip It)?
We love dermaplaning because it is a highly inclusive treatment, but it isn’t for everyone. Knowing your skin type and current skin health is crucial before you bring a blade to your face.
The Ideal Candidates
If you have normal, dry, mature, or combination skin, you are a prime candidate for at-home dermaplaning. It is particularly beneficial for those dealing with a dull complexion, flaky patches, or uneven skin texture. It is also an excellent option for pregnant or nursing individuals who want deep exfoliation but need to avoid chemical exfoliants like salicylic acid or retinoids.
For those with deeper skin tones, physical exfoliation is highly effective for restoring radiance. However, caution is key. As discussed in our guide on Achieving Radiant Skin Dermaplaning For Deeper Skin Tones, aggressive pressure can trigger post-inflammatory hyperpigmentation (PIH). Always keep your pressure feather-light.
Who Should Skip It?
If you have active, inflamed acne, cystic breakouts, open wounds, or sunburn, you must put the blade down. Running a blade over active pimples will slice them open, spreading bacteria across your face and causing further breakouts, inflammation, and potential scarring.
Similarly, if you suffer from inflammatory skin conditions like eczema, psoriasis, active rosacea with broken capillaries, or extreme skin sensitivity, at-home dermaplaning can severely compromise your skin barrier. For a detailed breakdown of how to navigate these challenges safely, check out The Sensitive Skin Survival Guide To Dermaplaning.
Essential Tools, Safety, and Step-by-Step Technique
In 2026, the market for at-home facial exfoliation devices is larger than ever, but safety remains the absolute priority. You do not need professional surgical scalpels — in fact, using an unguarded professional scalpel at home is a recipe for a medical emergency.
Instead, look for high-quality, guarded dermaplaning razors designed specifically for consumer use. These have safety guards or micro-guards over the blade to prevent deep cuts while still delivering excellent exfoliation.
To build your safe at-home kit, gather these essential supplies:
- A fresh, sterile dermaplaning tool (disposable or with a replaceable single-use blade)
- 70% Isopropyl rubbing alcohol (for sanitizing your hands and setup)
- A gentle, fragrance-free double cleanser
- A clean, dry towel or single-use paper towels
- A well-lit room (a lighted magnifying mirror is highly recommended)
- A soothing, hydrating serum (like hyaluronic acid)
- A barrier-repairing moisturizer
For a curated selection of the safest tools available this year, read through Smooth Moves Our Guide To The Best Dermaplaning At Home.
Step-by-Step Guide: Dermaplaning at Home for Beginners
If you are nervous about your first time, you can practice the motion on your forearm first to get a feel for the pressure and angle. Once you are ready, follow this exact protocol to protect your skin barrier and ensure a gorgeous glow.
Step 1: Double Cleanse and Dry
Your skin must be a completely clean, dry canvas. Wash your face twice — first with an oil-based cleanser to break down makeup and sunscreen, followed by a gentle, water-based foaming cleanser. Gently pat your face dry with a clean towel and wait 5 to 10 minutes. The skin must be 100% dry; never attempt to dry-dermaplane on damp skin, as the blade will drag and cause nicks.
Step 2: Set Up and Sanitize
Wash your hands thoroughly. Wipe down your counter space and mirror area with rubbing alcohol. Open your fresh, single-use blade.
Step 3: Master the Grip and Angle
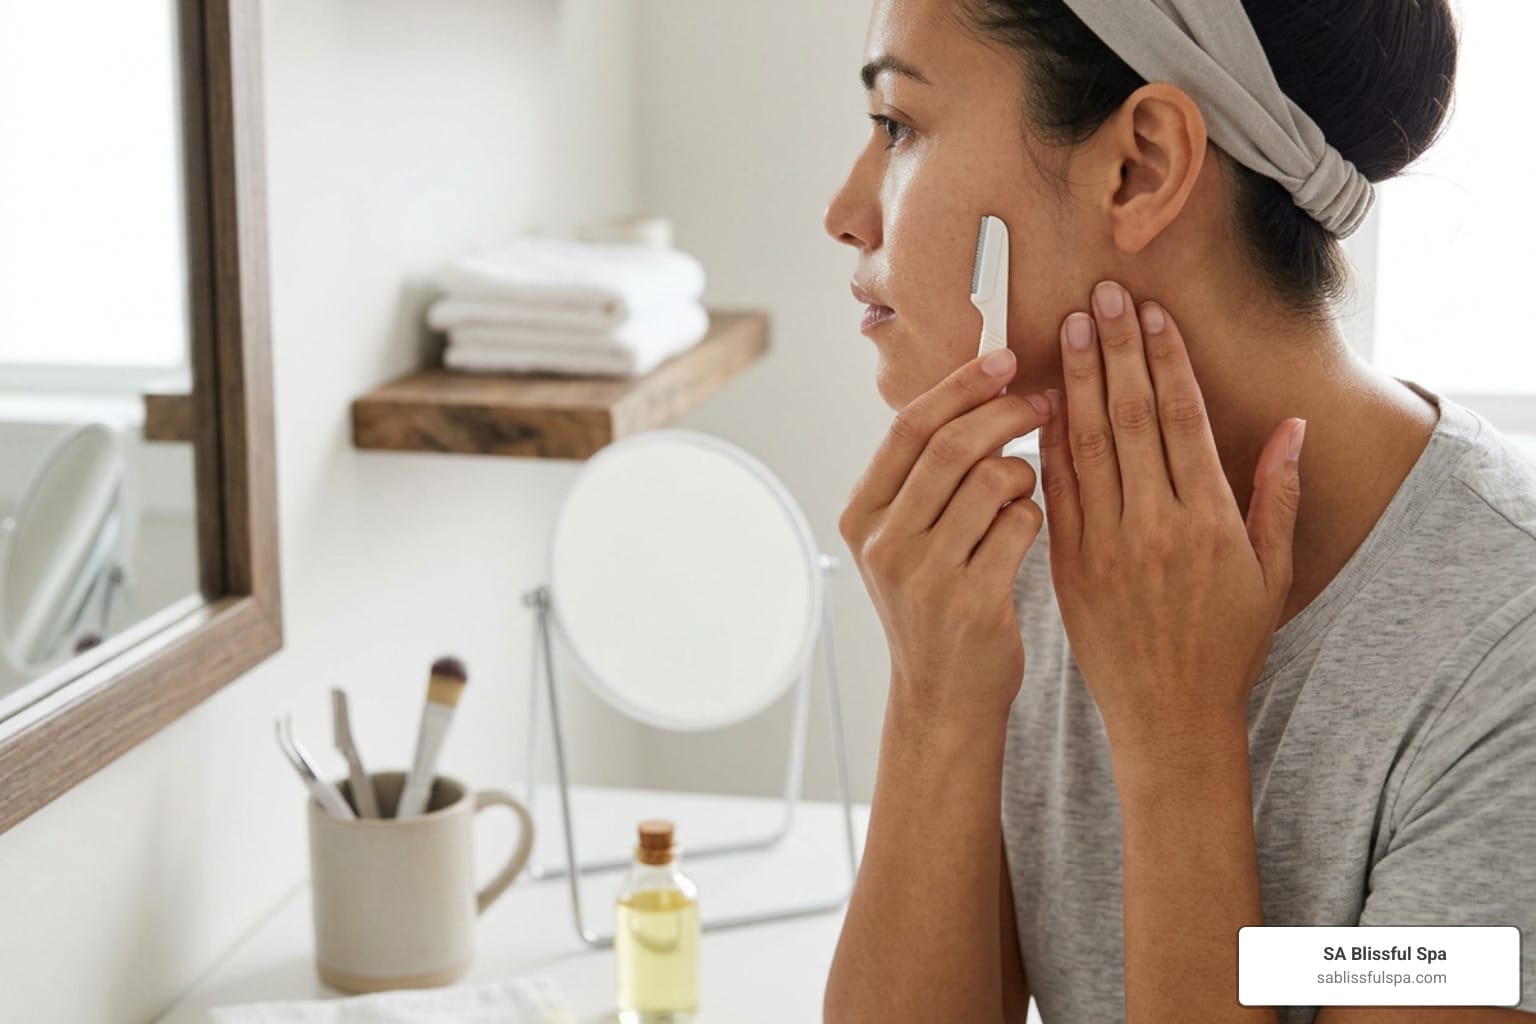
Hold your dermaplaning tool in your dominant hand like a pencil. To achieve The Best Dermaplaning Technique For A Glow That Lasts, you must maintain a strict 45-degree angle relative to your skin. If the blade is too flat (0 degrees), it won't exfoliate; if it is too steep (90 degrees), you will nick or cut yourself.
Step 4: Pull Taut and Glide
With your non-dominant hand, pull a section of your skin taut. This creates a flat, firm surface and is the single most important step to prevent cuts. Using feather-light pressure, make short, slow, downward strokes (about 1 inch long) in the direction of hair growth.
Start at the top of your cheek near your ear and work your way down to your jawline. Move systematically to your chin, around your mouth, and then your forehead.
- Areas to avoid: Do not go over your eyelids, eyebrows, lips, the sides of your nose, or any active blemishes.
- Pro-tip: Wipe the accumulated fuzz and dead skin off the blade onto a clean tissue after every few strokes. Never pass over the same patch of skin more than once.
Step 5: Rinse and Hydrate
Once finished, rinse your face with cool water to remove any lingering debris. Pat dry and immediately apply a generous layer of a soothing, hydrating serum (like pure hyaluronic acid), followed by a rich, fragrance-free moisturizer.
For a deeper look at this process, you can refer to the How to Dermaplane at Home for Beginners | Step-by-Step Guide.
How Often to Perform Dermaplaning at Home for Beginners
Because dermaplaning removes a micro-thin layer of the stratum corneum, your skin needs time to complete its natural cellular renewal cycle and rebuild its protective barrier. Over-exfoliating will leave your skin raw, shiny, irritated, and prone to breakouts.
We recommend performing this treatment once every 3 to 4 weeks (or roughly once a month). If you have particularly sensitive or dry skin, you may want to stretch this to every 5 to 6 weeks. Oily skin types can sometimes tolerate it every 2 to 3 weeks, but always listen to your skin. If it feels tight, sensitive, or looks red, skip your session. You can read more about balancing your schedule in Smooth Skin Secrets Everything About Dermaplaning.
Post-Treatment Aftercare and Common Mistakes to Avoid
Your freshly dermaplaned skin is highly receptive but incredibly vulnerable. Proper aftercare is what stands between a radiant glow and a compromised skin barrier.
The Aftercare Golden Rules
- Ditch the Actives: Pause all retinoids, AHAs (glycolic, lactic acids), BHAs (salicylic acid), physical scrubs, and strong vitamin C serums for at least 48 to 72 hours post-treatment. Your skin is already deeply exfoliated; adding chemical exfoliants will cause severe chemical burns or irritation.
- Hydrate and Repair: Stick to basic, bland, non-comedogenic hydration. Look for ingredients like hyaluronic acid, ceramides, squalane, and centella asiatica to soothe the skin.
- Sun Protection is Non-Negotiable: Freshly exposed skin cells are highly susceptible to UV damage and hyperpigmentation. Apply a broad-spectrum SPF 30+ mineral or hybrid sunscreen the next morning and wear it daily.
- Delay Makeup: Avoid applying heavy face makeup for at least 12 to 24 hours. Your pores are clear and open, and applying makeup immediately can trap bacteria, leading to sudden breakouts.
Common Mistakes to Avoid
- Pressing Too Hard: The blade should lightly whisper across your skin. Let the tool do the work; pressing down will cause scrape marks, raw skin, and scabs.
- Reusing Dull Blades: A dull blade drags, scratches, and collects bacteria. Always use a brand-new, sterile blade for every single session.
- Dermaplaning Over Active Acne: Trying to "shave off" a pimple will pop it under the skin, spreading acne-causing bacteria and creating deep scars.
- Sharing Tools: Never, under any circumstances, share a dermaplaning tool with someone else. This is a fast track to spreading serious bacterial and viral skin infections.
Frequently Asked Questions About Dermaplaning
Will dermaplaning make my facial hair grow back thicker or darker?
No, this is a complete biological myth. Dermaplaning cuts the hair at the surface of the skin, which has zero effect on the hair follicle located deep within the dermis. Vellus hair (peach fuzz) will grow back at its exact same natural speed, color, and fine texture.
The reason this myth persists is because cutting the hair creates a blunt, flat edge rather than its natural tapered tip. As it first sprouts back, it may feel slightly stubbly or coarse to the touch for a few days, but it is not physically thicker or darker.
How much does professional dermaplaning cost compared to doing it at home?
When researching professional treatments, keep in mind that average costs can vary widely. Based on internet data, a single professional dermaplaning facial can range anywhere from $75 to over $250+ per session, depending on your geographic location, the med spa, and whether it is paired with other advanced treatments like custom enzyme peels or hydrating masks. (Please note: these are average estimated industry costs based on internet data and do not represent the actual pricing at SA Blissful Spa).
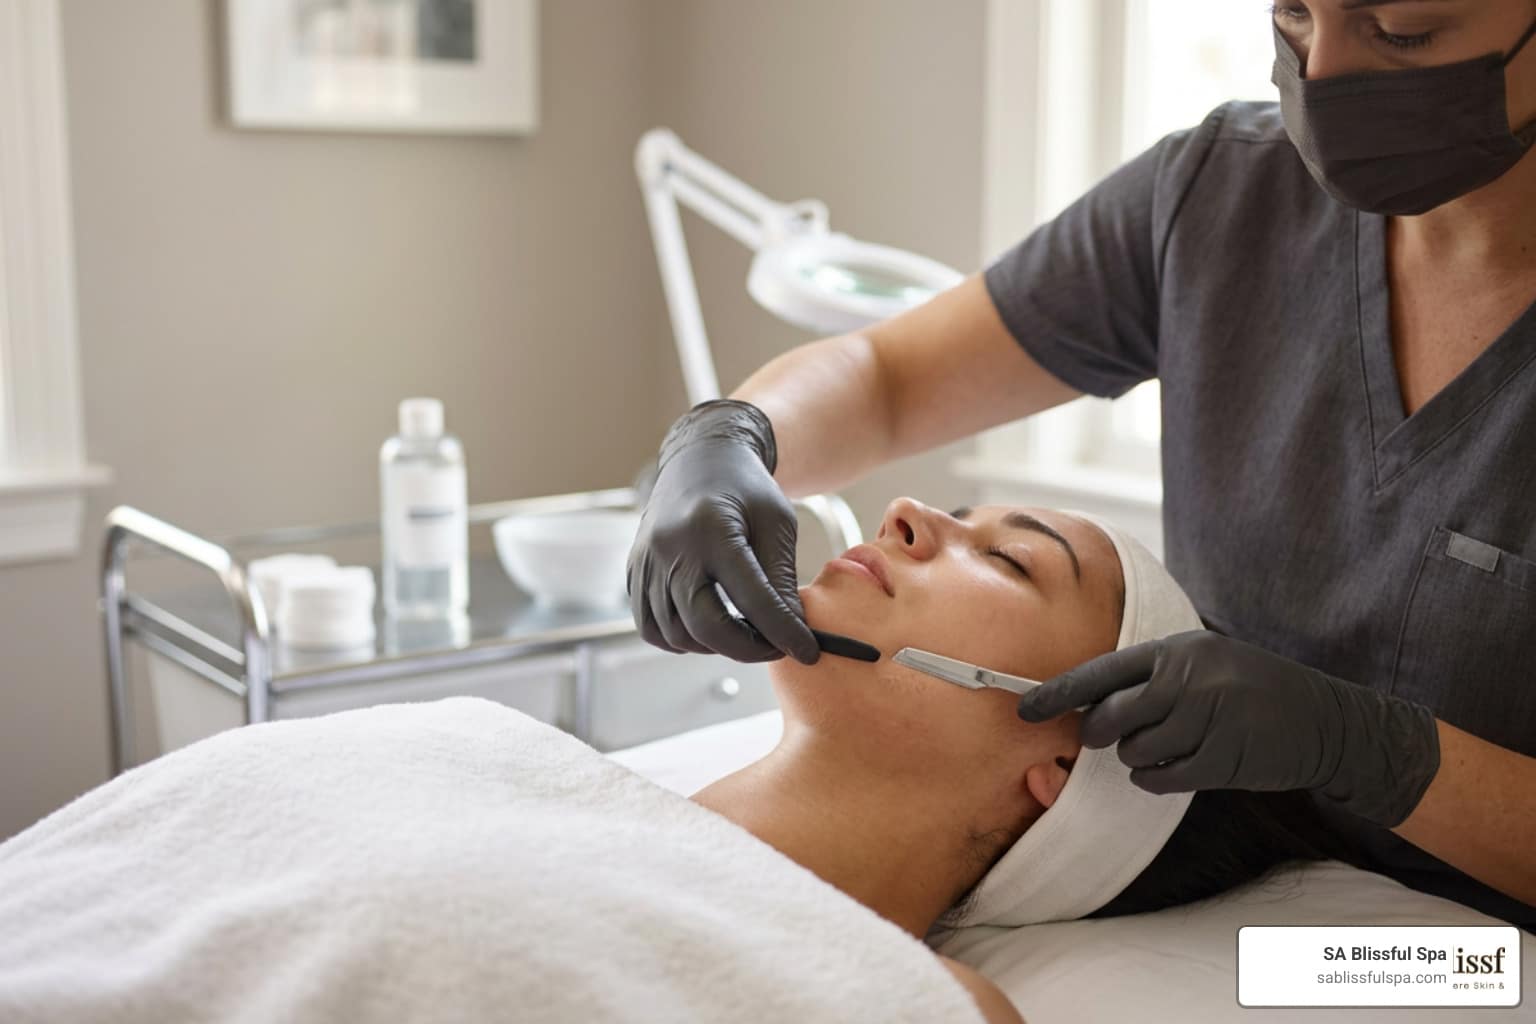
At-home dermaplaning is incredibly budget-friendly, with high-quality consumer tools costing between $5 and $40. However, while DIY is highly cost-effective for basic maintenance, it cannot match the depth of exfoliation achieved by a licensed professional using a sterile medical-grade scalpel. For a full breakdown of what to expect from professional sessions, read our Dermaplaning Near Me Complete Guide.
Can I dermaplane if I have active acne or sensitive skin?
If you have active, widespread acne, you should absolutely avoid dermaplaning until your skin has fully cleared. Passing a blade over pustules or cysts will rupture them, spreading acne bacteria and causing severe post-inflammatory scarring.
If you have highly sensitive skin, you can dermaplane, but you must be incredibly cautious. Ensure you use a guarded blade, keep your movements slow, and follow up with deep barrier-repairing creams. If your skin is easily irritated, we highly recommend consulting a licensed esthetician for a controlled, professional treatment instead.
Conclusion
Mastering dermaplaning at home for beginners is a fantastic, accessible way to maintain a smooth, glowing complexion and maximize the power of your daily skincare products. By prioritizing hygiene, maintaining a strict 45-degree angle, and keeping your sessions spaced 3 to 4 weeks apart, you can enjoy all the exfoliating benefits without any of the post-treatment regrets.
However, while at-home maintenance is wonderful, nothing compares to the safety, precision, and deep results of a professional treatment. If you reside in the Greater Boston area — including Arlington, Bedford, Belmont, Billerica, Burlington, Carlisle, Concord, Lexington, Lincoln, Melrose, North Reading, Reading, Stoneham, Wakefield, Watertown, Wilmington, Winchester, or Woburn — we invite you to experience the ultimate in skin rejuvenation.
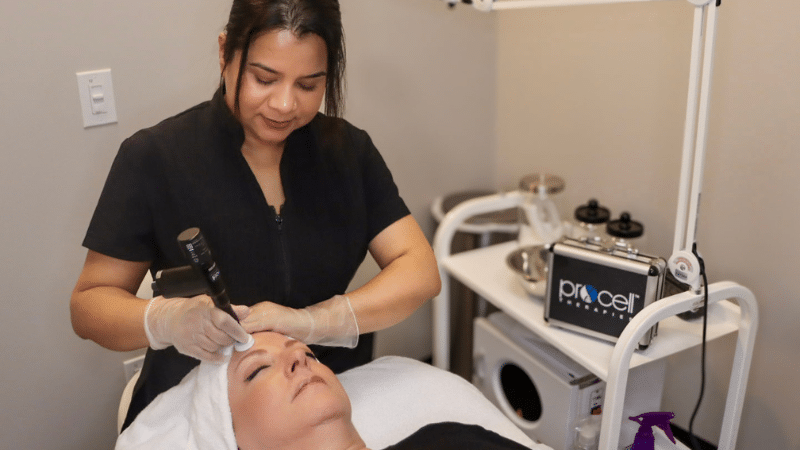
At SA Blissful Spa in Burlington, MA, we specialize in customized, professional skincare. Our expert estheticians provide tailored dermaplaning treatments in a serene, luxurious environment designed to restore your skin's health and natural radiance safely.
Ready to elevate your glow? Skip the guesswork and pamper your skin with our professional Dermaplaning Facial Services today.